![]() Colored
Gauge Faces
Colored
Gauge Faces
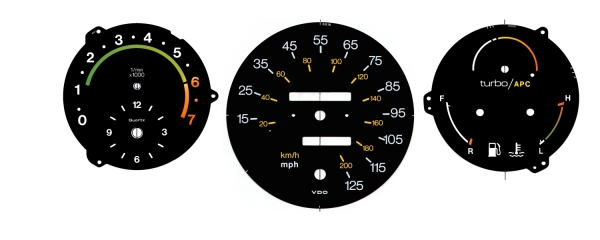
Need some new gauge faces for your classic 900?
These are some ideas we're working on...
Aside from the obvious color changes, there are some subtle changes to the gauge faces themselves which I think results in a much cleaner and "up to date" appearance. The changes are:
Additionally, gauges have been given a pleasant color graduation including tachometer, turbo/apc, and temp gauge.
Some notes:
You can see the original images used to generate the gauges by clicking a link below:
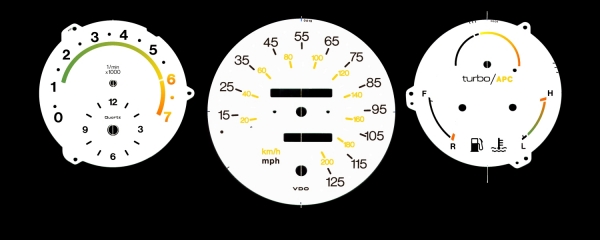
White Faces with SAAB Coloring
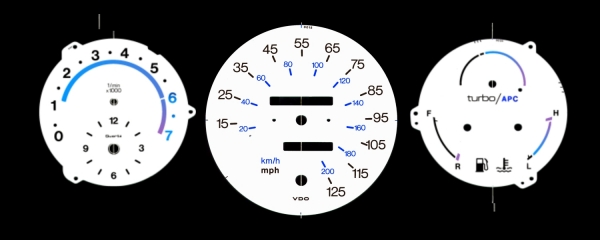
White Faces and Blue/Purple Coloring
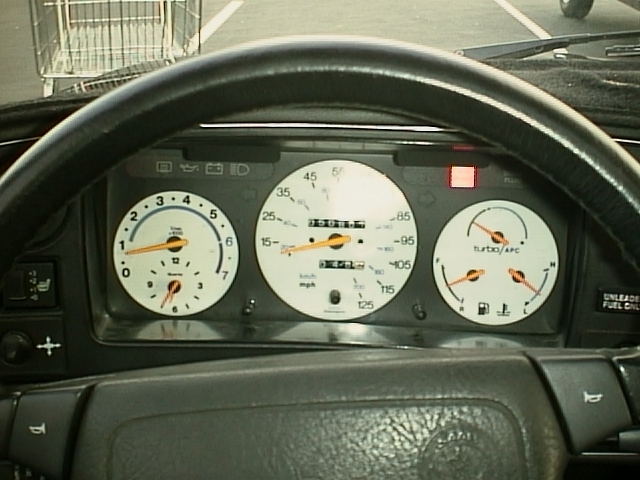
Here you can see some images of the production faces installed in my '90 SPG. The lighting is a little funky, but you can still see how nice they look:
We have completed combo gauges for naturally aspirated 900s as well - these are available upon request. We are also working on a calibrated boost gauge to replace the stock turbo/apc gauge - there is *no* ETA on this and it may never materialize, so don't get your hopes up! :)
PRICING:
What do you get for $75? For $75 you get a complete set of gauges, including the speedo, tach, and your choice of Turbo or Non-Turbo combo gauge. They come in a rectangular sheet that needs to be cut to size. Doing so takes nothing more than an X-acto knife and about one hour of patience. But, we realize that sometimes patience isn't all that easy to come by, and sometimes your X-acto isn't as sharp as you think it is, and for that reason we'll throw in a SECOND set of gauges to practice on FREE. So, if you're really good at cutting things out, you can get TWO sets of 'em for the price of one...
$125 will get you a complete set of gauges, pre-cut. You only get one set, but they're ready to install.
INSTALLATION: Installation is fairly easy, and only takes about two hours. Installing the gauges requires removing the steering wheel and the fascia of the car. You will also need to remove the front-right speaker grille to gain access to the back of the gauge cluster so you can disconnect the speedometer cable. There are four screws which hold the cluster to the car, and four screws which hold the gauges to the cluster.
The trick comes when you have to remove the needles to allow you to put the gauges faces in place. Doing so can be quite tricky, and a wrong move can permanently damage the cluster you're working on. Caution is called for - and a slow & steady hand make it quite doable. However, if you're not comfortable pulling the needles and putting the gauges at rist, there are two alternative methods for installation which result in only a minor cosmetic hit and no risk of damaging the gauges themselves
When you purchase the gauges, we will send along a printed sheet with step-by-step instructions detailing exactly how they are installed. Installing them isn't hard, and anyone handy with a screw driver can do it in less than two hours.

